
InvisaCook is an innovative and inventive take on induction cooking through your countertop. This approach makes the cooking surface completely seamless, as if it were completely invisible.
Imagine cooking directly on your countertop while the surface gets only warm from radiating heat. Imagine what else could be done with that needed countertop space: laying out kitchen accessories, doing everyday chores, homework, or other uses made possible by added countertop space.
InvisaCook’s mission is to achieve greatness with inspiration and to grow technology. The company strives to be on the leading edge of innovation and design in the induction cooking world.
Read the instructions carefully. Keep the instructions for use, assembly, and the appliance data sheet for later use.
Check the appliance after removing it from the packaging. If the appliance is damaged during transport, do not connect it. Contact the Technical Department and submit a description and pictures of the damage to customerservice@invisacook.com.
Failure to do so may result in loss of indemnity rights and/or void the warranty.
This appliance should be installed according to the assembly instructions provided and has been designed for domestic use only.
People fitted with a pacemaker or similar medical device should pay particular attention when using the appliance or standing close to the induction plates while they are in operation. Consult your doctor or the manufacturer of the device to confirm compliance with applicable standards and possible incompatibilities.
Hot oil and fat are highly inflammable. Always take great care with hot oil and fat. Never extinguish a fire with water.
Turn off the cooking area and suffocate flames with a lid, extinguishing lid, or similar method.
Cooking areas can become very hot over long periods of use. Countertops, pans, utensils, and items used with the InvisaCook unit may become extremely hot to the touch.
Do not touch surface units or areas near units until sufficient cooling time has passed.
Improper repairs are dangerous. Defective power cables should only be replaced by trained dealer personnel.
If defective, unplug the appliance from main power and notify Technical Assistance at Info@invisacook.com.
The unit is equipped with a fan located in the lower part of the unit. Drawers under the cooking plate should not be used to store small metal objects or paper, which could become trapped, damage the fan, and compromise cooling.
A space of at least 2 inches should be left between drawer contents and the fan operational unit.
Induction cooking is different from standard gas and electric cooking methods. The pot or pan will heat up very quickly, even at lower power settings. Follow the power level cooking table to protect from overheating.
The InvisaMat must always be used when cooking. No exceptions unless using InvisaCookware with risers.
Proper cookware must always be used.
Pot or pan must never be empty when turning on the unit.
Power Boost should only be used when boiling water and lasts 10 minutes.
Cooking with oil or frying food should only be done at level 7 or lower. Failure to do so will void your stone warranty.
| Temperature Level | Level | Type of Cooking | Recommended Use |
|---|---|---|---|
| Max Level | 9 | Frying / Boiling | Ideal for browning, starting to cook, frying deep-frozen products, and fast boiling. |
| High Level | 7-8 | Browning, sautéing, boiling | Ideal for sautéing, maintaining a lively boil, cooking, and grilling. |
| High Level | 6-7 | Browning, slow cooking, sautéing, grilling | Ideal for sautéing, maintaining a light boil, cooking, and grilling; preheating accessories. |
| Medium Level | 4-5 | Cooking, stewing, sautéing, grilling | Ideal for stewing, maintaining a gentle boil, cooking for a long period, and creaming pasta. |
| Medium Level | 3-4 | Cooking, simmering, thickening, creaming | Ideal for long-cooking recipes such as rice, sauces, roasts, and fish with liquids such as water, wine, broth, and milk. |
| Low Level | 2-3 | Cooking, simmering, thickening, creaming | Ideal for recipes with liquids under approximately one liter, such as rice, sauces, roasts, fish, and milk. |
| Low Level | 1-2 | Melting, defrosting | Ideal for softening butter, gently melting chocolate, thawing small products, and keeping just-cooked food warm. |
| Low Level | 1 | Keeping food warm, creaming | Ideal for keeping just-cooked food warm, creaming risotto, and keeping serving dishes warm with suitable accessories. |
| Power Off | 0/H | Support surface | Cooktop in stand-by or off mode. Possible residual heat indicated by “H”. |
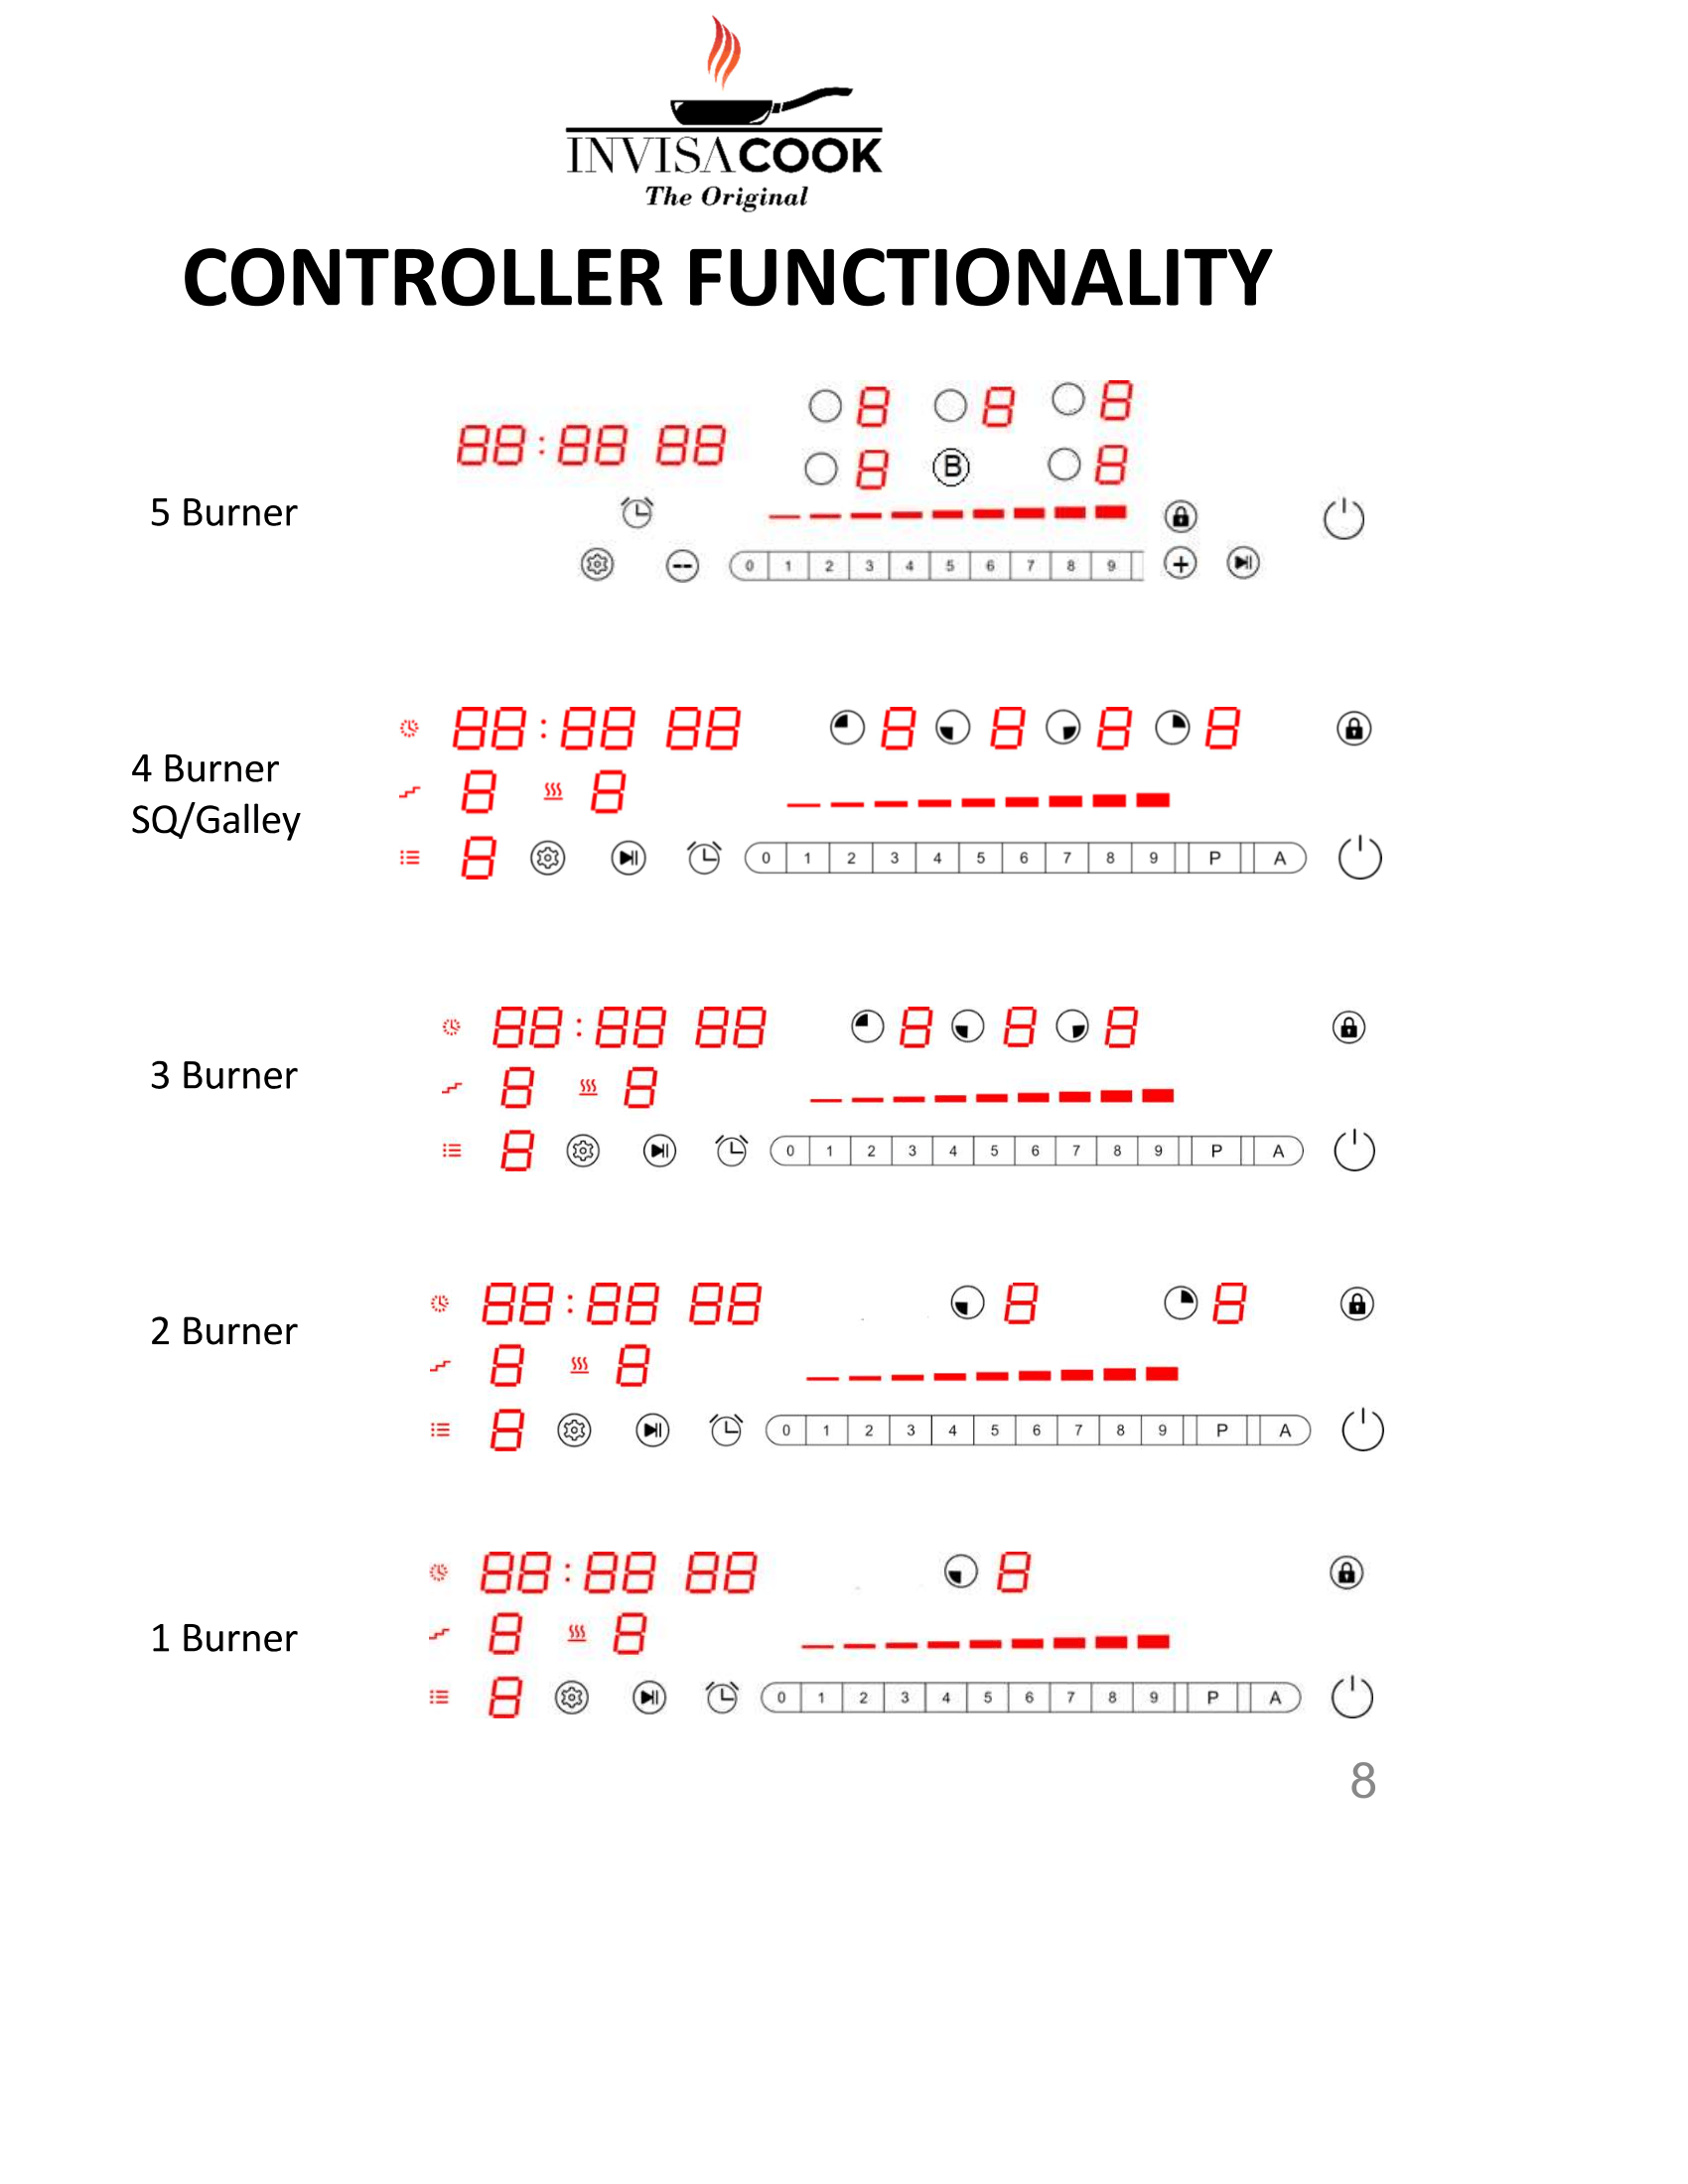
When powered on, all LEDs light for one second with a beep, then turn off. If the working surface temperature is over 60°C, the related digital LED shows “H”. All buttons are invalid except Power and Child Lock.
Press the power key to start standby mode. If the surface temperature is over 60°C, the display flashes “H”; otherwise it shows “-”. The timer LED shows “--”.
Select any burner key. The power display shows “0” and blinks. Slide or press 0-9 to start working.
Press the child lock button for 3 seconds to enable the function. All buttons are invalid except Child Lock and Power.
Select the cooking zone, then press Booster. The display shows “P”. To deactivate, select the zone and press Booster again; power returns to the previous level.
Timer can be set to a maximum of 99 minutes and is available only when the burner is working. Press 0-9 keys to set timer.
When the burner is working in manual mode, long press the setting key. The device records the cooking process, including power level and cooking time. Each adjustment starts a new step. Up to 4 steps can be recorded. Press to finish recording or allow recording to finish automatically after 4 steps.
On standby mode, long press the setting key to amend or build current menus. The menu number LED will blink. Press 1-9 to select the menu to amend or build, then enter the menu. The cooking step LED will blink.
Cooking steps can be configured in up to 4 steps. Power level can be 1-9. Cooking time can be set up to 99s:99s. Long press to save when finished.
On standby mode, select one burner and enter auto cooking mode. The burner LED shows “A” and the menu number blinks. Press 1-9 to select a menu, then start working. Food will be cooked automatically.
A point at the lower right corner indicates the menu belongs to the current burner.
In auto cooking mode, after selecting a menu number, press to pre-set. The LED will blink. Press 0-9 to set time up to 99h:99m. When the time is up, the device will cook automatically.
Cooking with InvisaCook involves a revolutionary change in traditional heating because heat is generated directly in the cookware through your countertop.
Reduced cooking and frying times because the pan or pot is heated directly.
Induction turns approximately 90% of the energy into heating your cookware.
A seamless kitchen surface simplifies maintenance and cleaning because spilled food does not burn onto exposed heating elements.
Controls are hidden away from the elements and can also be controlled using Wi-Fi on a mobile device or tablet.
The unit supplies or cuts off energy immediately through the touch screen control panel.
The InvisaCookware Set is a professional-grade collection of pots and pans made with 5-ply construction, featuring a copper core sandwiched between layers of stainless steel and aluminum.
This construction supports even heating, durability, heat conductivity, and faster cooking times. The fully clad walls of the pots and pans are hot to the touch, and the thick construction makes the cookware heavy as a mark of quality and longevity.
The set includes permanently adhered pan risers to be used instead of the mat. If you do not wish to use or see mats when cooking, this cookware set is the cookware allowed to be used without the InvisaMat.
Riser system permanently adhered to the pan to help keep the countertop cool to the touch.
Riveted stainless steel handles are ergonomically designed for comfort and safety.
The number one recommended cookware is full-clad stainless steel. A magnet should stick firmly to the bottom and sides of the pan. Full-clad or tri-clad pans are recommended when cooking with InvisaCook and the InvisaMat.
Aluminum, all-copper, or glass cookware will not work unless they have a magnetic layer on the bottom. Thin magnetic layers may induct slowly and should be avoided for best performance.
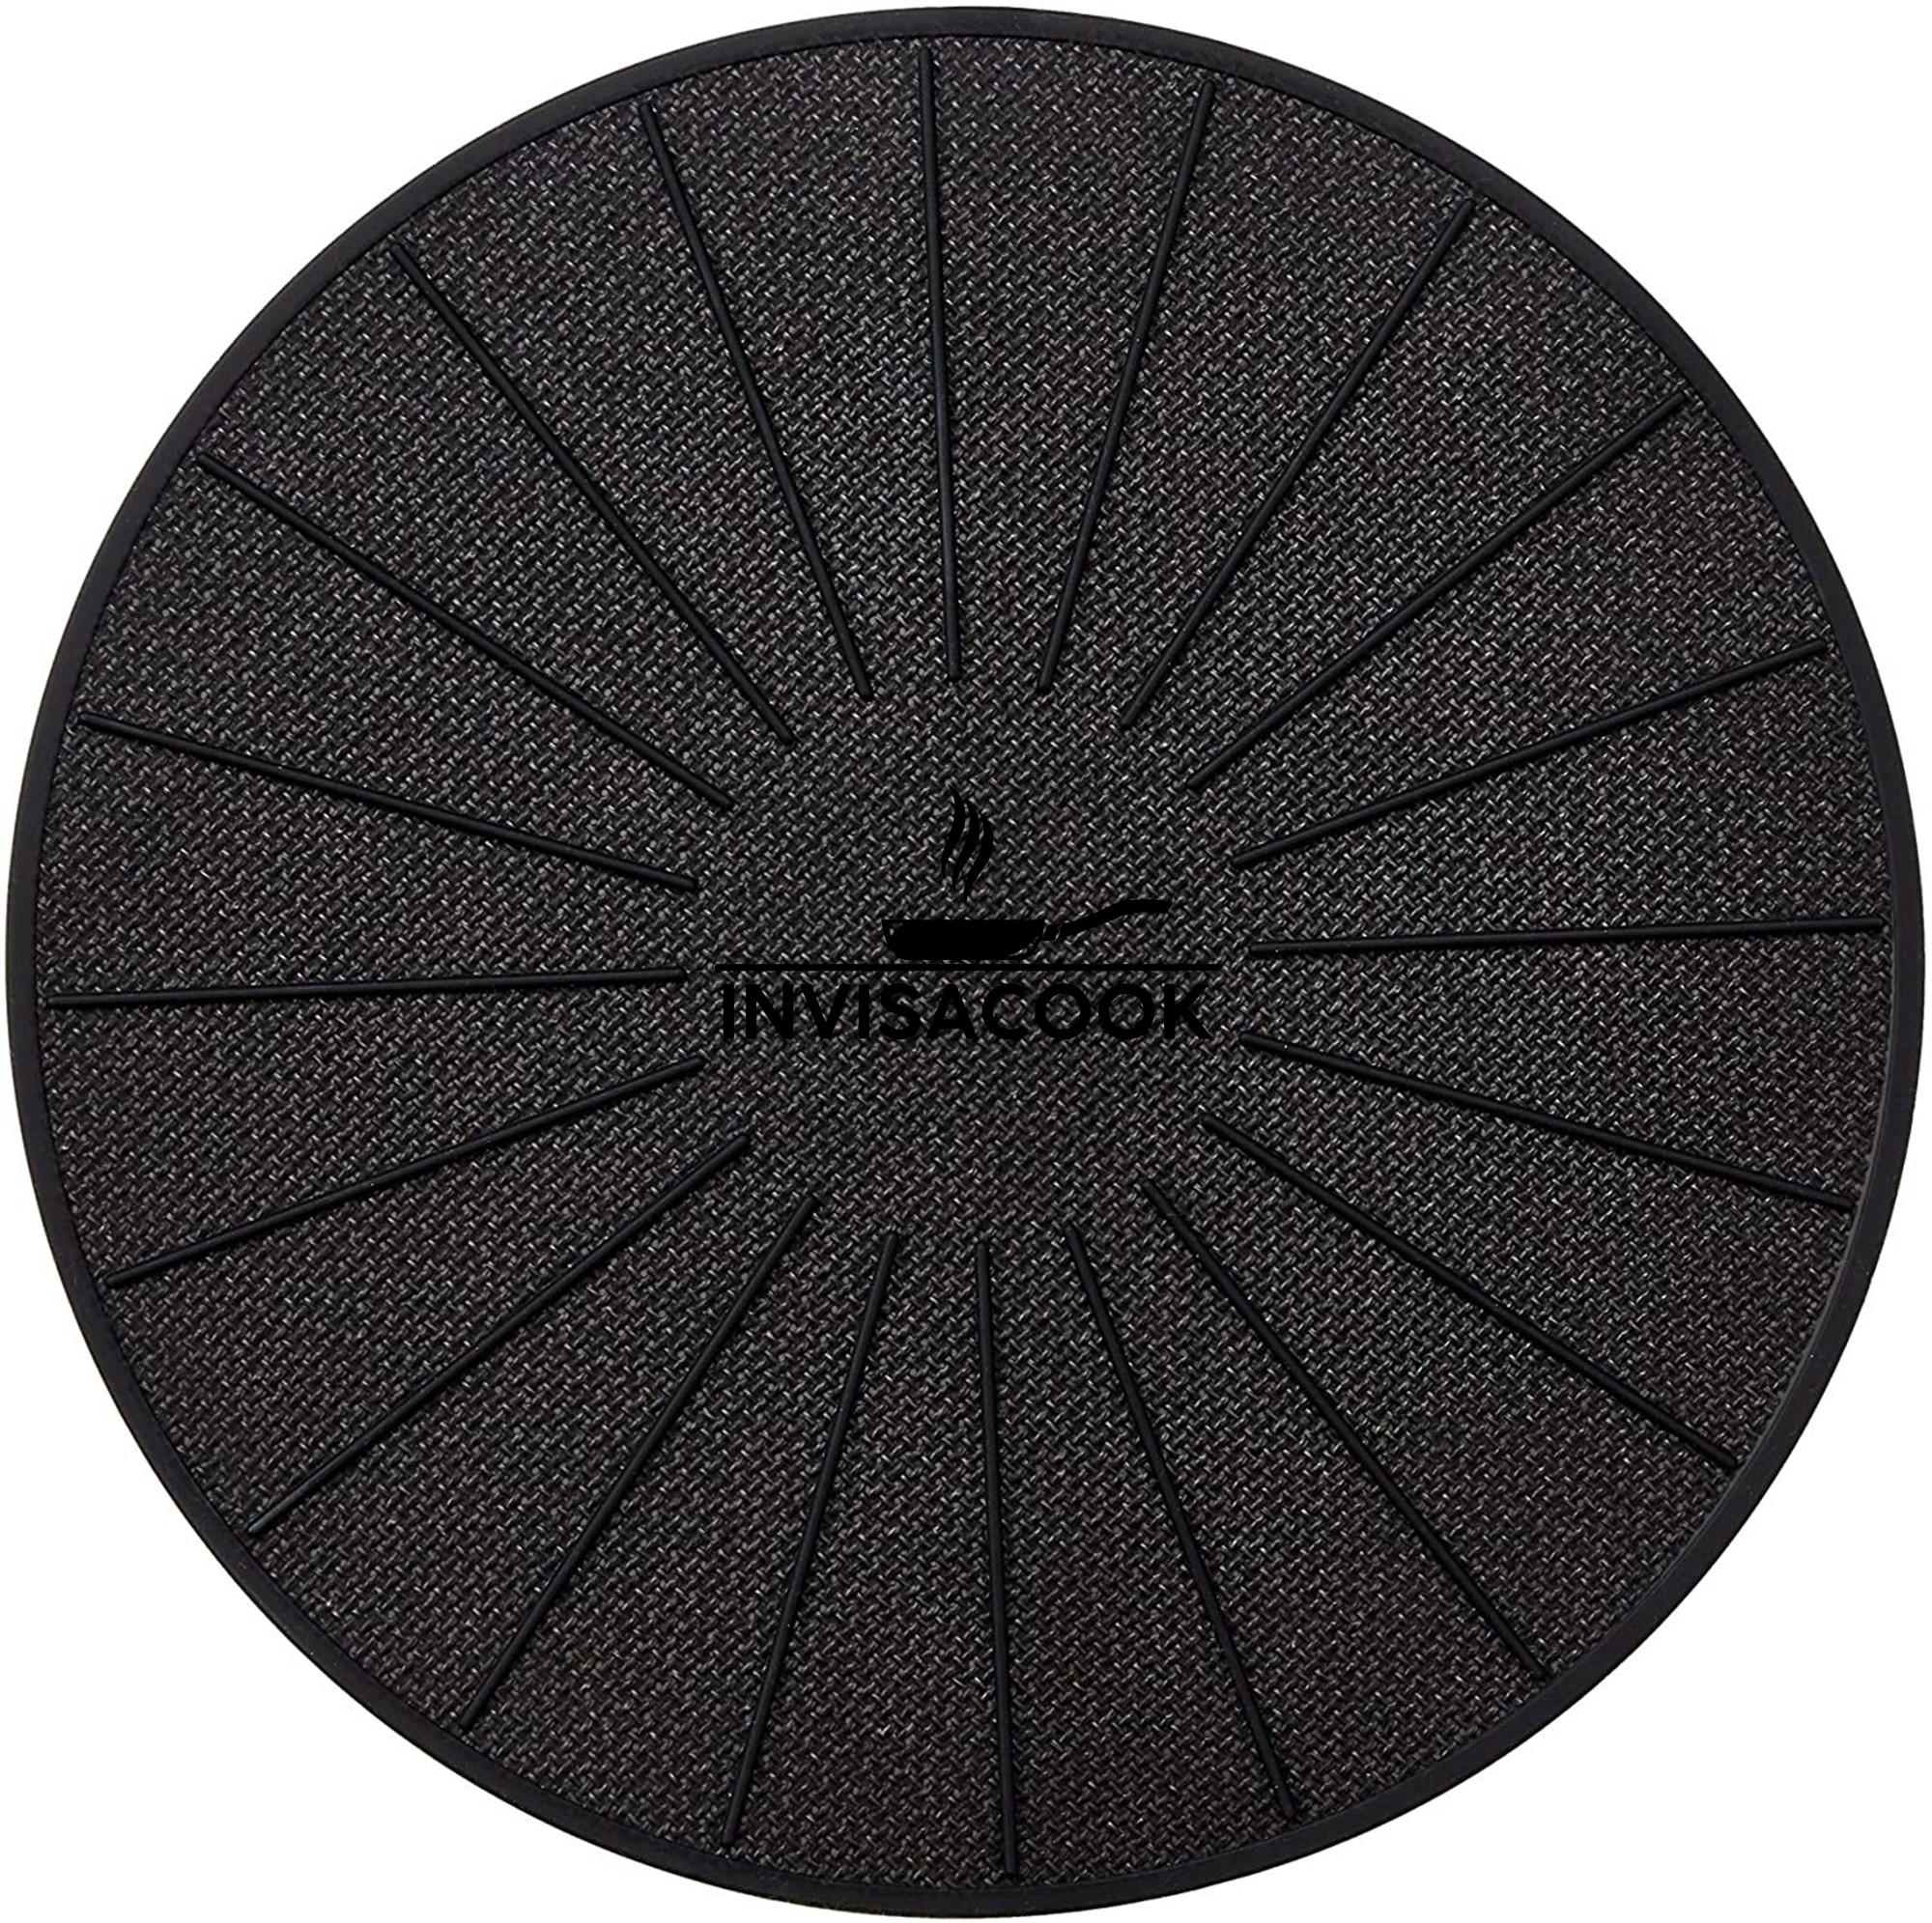
Induction cooktop with mat: 100°F. No induction cooktop mat: 204°F. Conditions: 16oz of water, 5 minutes, P9/200W. Results may vary depending on cooktop and cookware.
Patented and made with FDA-safe 100% silicone and fiberglass. Protects induction countertops from unwanted scratches and heat. Keeps pots and pans from sliding during cooking.
Microwave, oven, and dishwasher safe up to 500°F.
The cooking unit features an anti-activation device to prevent children from turning on the cooking areas or placing their hands on the surface. This is the key lock button on the controller.
The InvisaCook cooking unit should be off. To turn the device on and off, press the indicators in the center with the pad of your finger for 2 to 3 seconds. If nothing happens, lift your finger and repeat the operation.
The child-safe system activates automatically when the cooking unit is turned off.
The tips and alerts in this chapter help with correct cleaning and maintenance of the InvisaCook surface.
Use the reference cards below when an error code appears on the controller. Each code includes the likely cause and the recommended action.
Unit can still be turned on and used even at this stage, but warning that the surface may be hot to touch.
Burner area must cool down before the burner can be used again. Allow a minimum of 30 min in that area to properly reset.
Check to make sure the fans are not blocked and are getting air circulation.
Check that it’s been plugged in correctly at the outlet and the plug. If hardwire make sure this was done as instructed in the Installation Manual.
Check to see if Controller is connected properly, or if right model number controller matches to the unit.
Check User Manual for suitable Pan use, as in Tri-Ply cookware. Also check the unit is flush to your 12mm thick stone as well.
Contact your Supplier or Manufacturer for a replacement unit if still under warranty.
InvisaCook heating technology creates electromagnetic fields that generate heat directly in the base of the cookware. Depending on cookware composition, certain noises or vibrations may occur.
Occurs at high power levels due to energy transfer from the cooking plate to the recipient. It diminishes when power is reduced.
Occurs when cookware is empty. It disappears when water or food is placed in the cookware.
Occurs in cookware composed of layered materials due to vibration at material interfaces. Intensity varies by cooking method and food amount.
Occurs mostly in layered cookware at maximum heating power and when two cooking areas are used at the same time. It reduces as power is lowered.
The fan activates to maintain controlled temperatures and may continue running after the unit is turned off if internal temperature remains high.